Repairing 3D Scans
To repair a scan, follow these steps:
- Navigate to your project.
- Click on the 3D scan you want to repair.
- In the dialog that appears, select the "Repair" button.
Mesh Repair Options
Once you've selected a mesh, the following repair options will be available:
1. Split Disjoint Pieces

Submesh Explosion
If the mesh contains multiple submeshes, this option will explode the mesh.
- Click on the submesh you want to keep.
- Confirm your selection on the right-hand side.
2. Clip

- Click on 2 points on the screen to create a line.
- The software will split the mesh along this line.
- The red part will be removed.
- The green part will be kept.
- Use the buttons to:
- Cancel: Abort the operation
- No: Flip the part you want to remove
- Yes: Confirm the selection
3. Delete Region

- Draw a polyline to select a region.
- The software will automatically close the polyline.
- The selected region will be deleted.
warning
This operation deletes complete faces and does not split them.
4. Fill Holes

The software will close all open areas, attempting to follow the shape of the mesh to maintain a natural appearance.
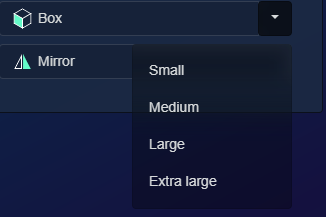
5. Box
Use this option to modify the 3D scan.
Default Options
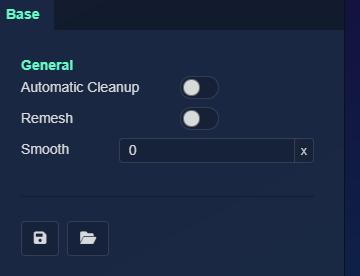
On the right side of the screen, you'll find these default options:
1. Automatic Cleanup
tip
This option is useful for quickly cleaning up complex meshes.
- Selects the largest submesh
- Cleans up unworkable mesh-in-mesh structures
- Performs remeshing
2. Remesh
Enable remeshing to reduce high-quality meshes with many faces to a mesh with fewer faces.
3. Smooth
Apply smoothing to the mesh surface. Enter the number of times the smooth should be applied.