X-Axis Calibration
This guide explains how to check and calibrate the bed mesh on your Belt printer so the belt is level from left to right.
Go to Configure (left bottom) and click Bed Mesh. This will show a picture like below.
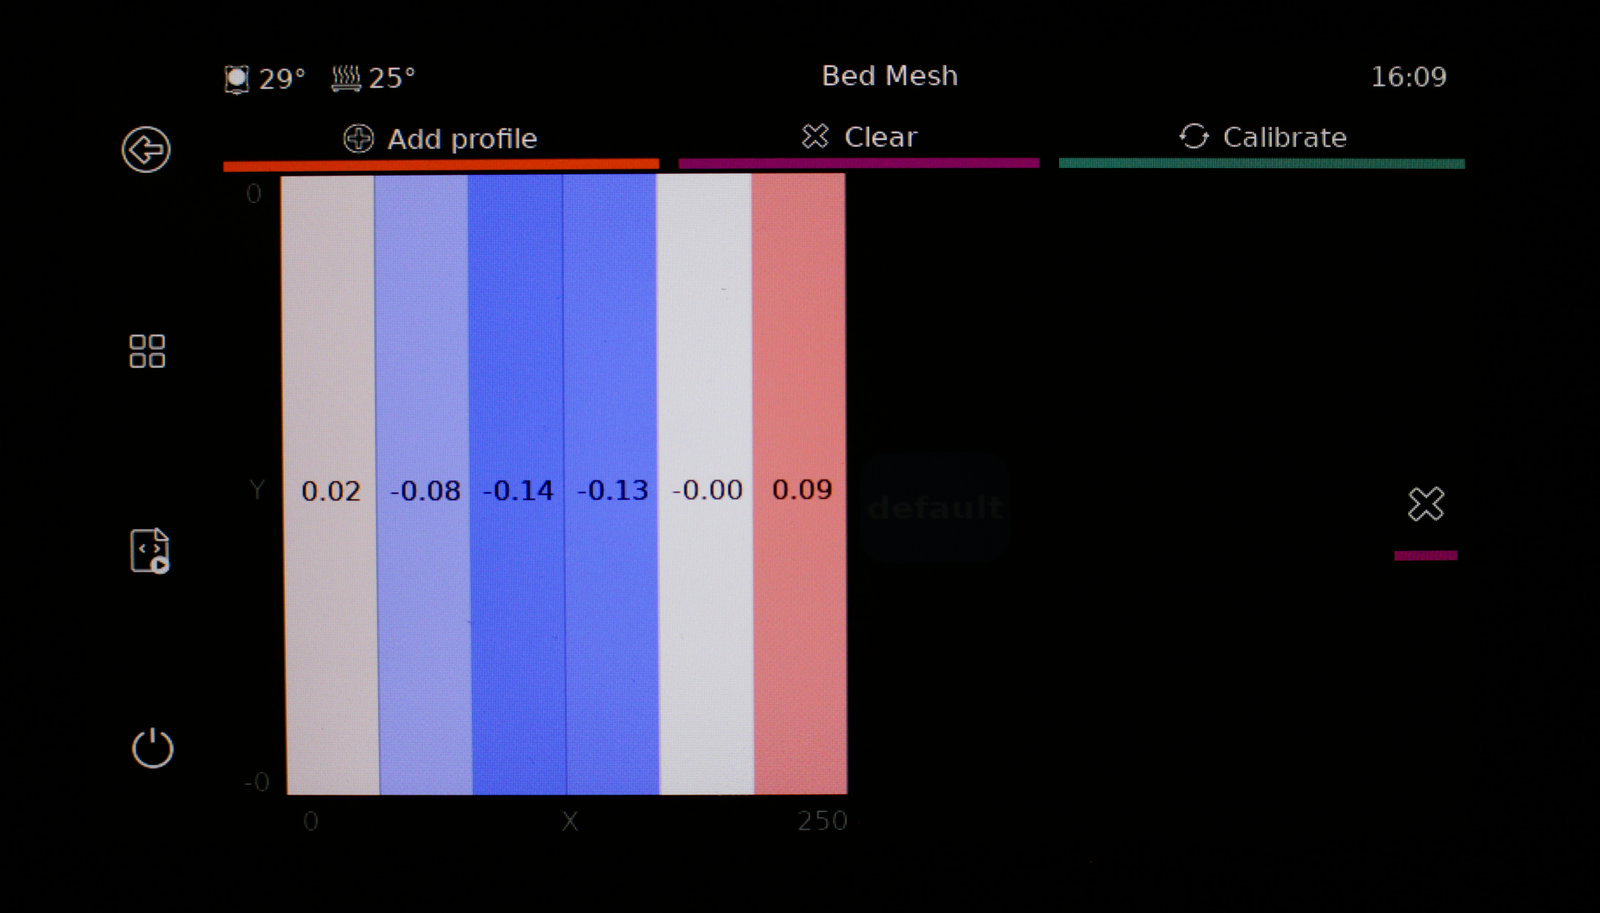
If the bed mesh difference (from the left to the right), the difference in value is higher than 0.2mm, calibration is required.
1. Loosen the 2 top screws.
Loosen the 2 screws.
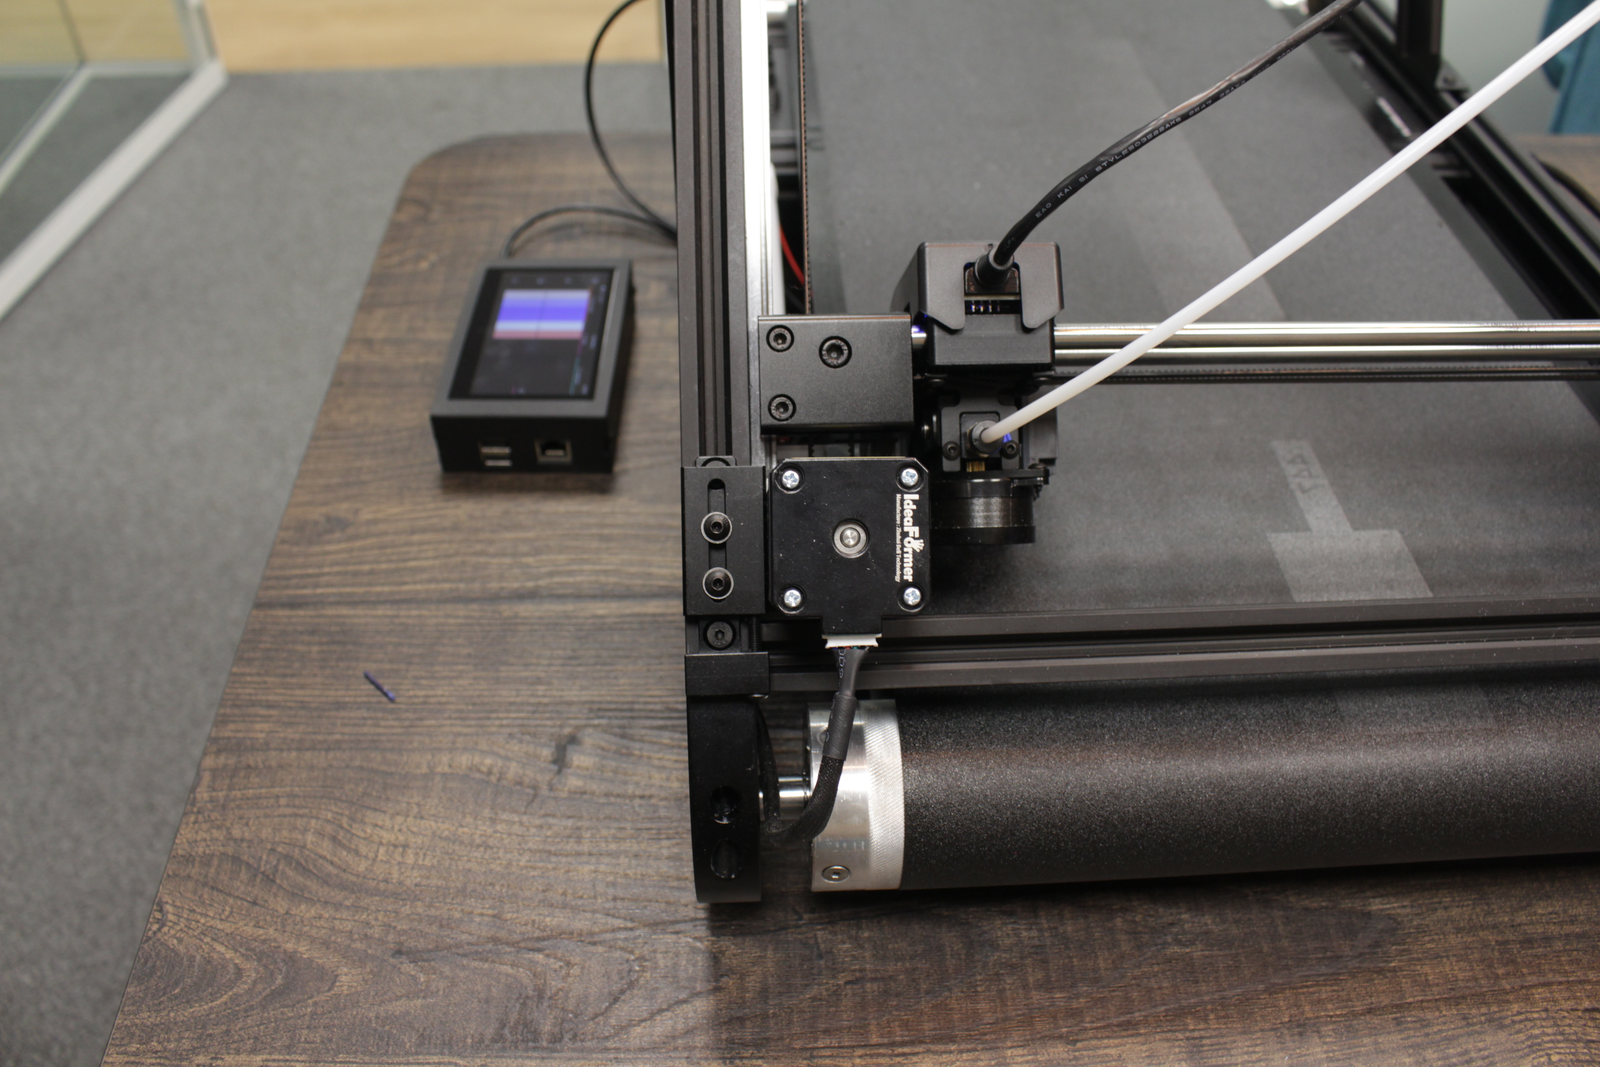
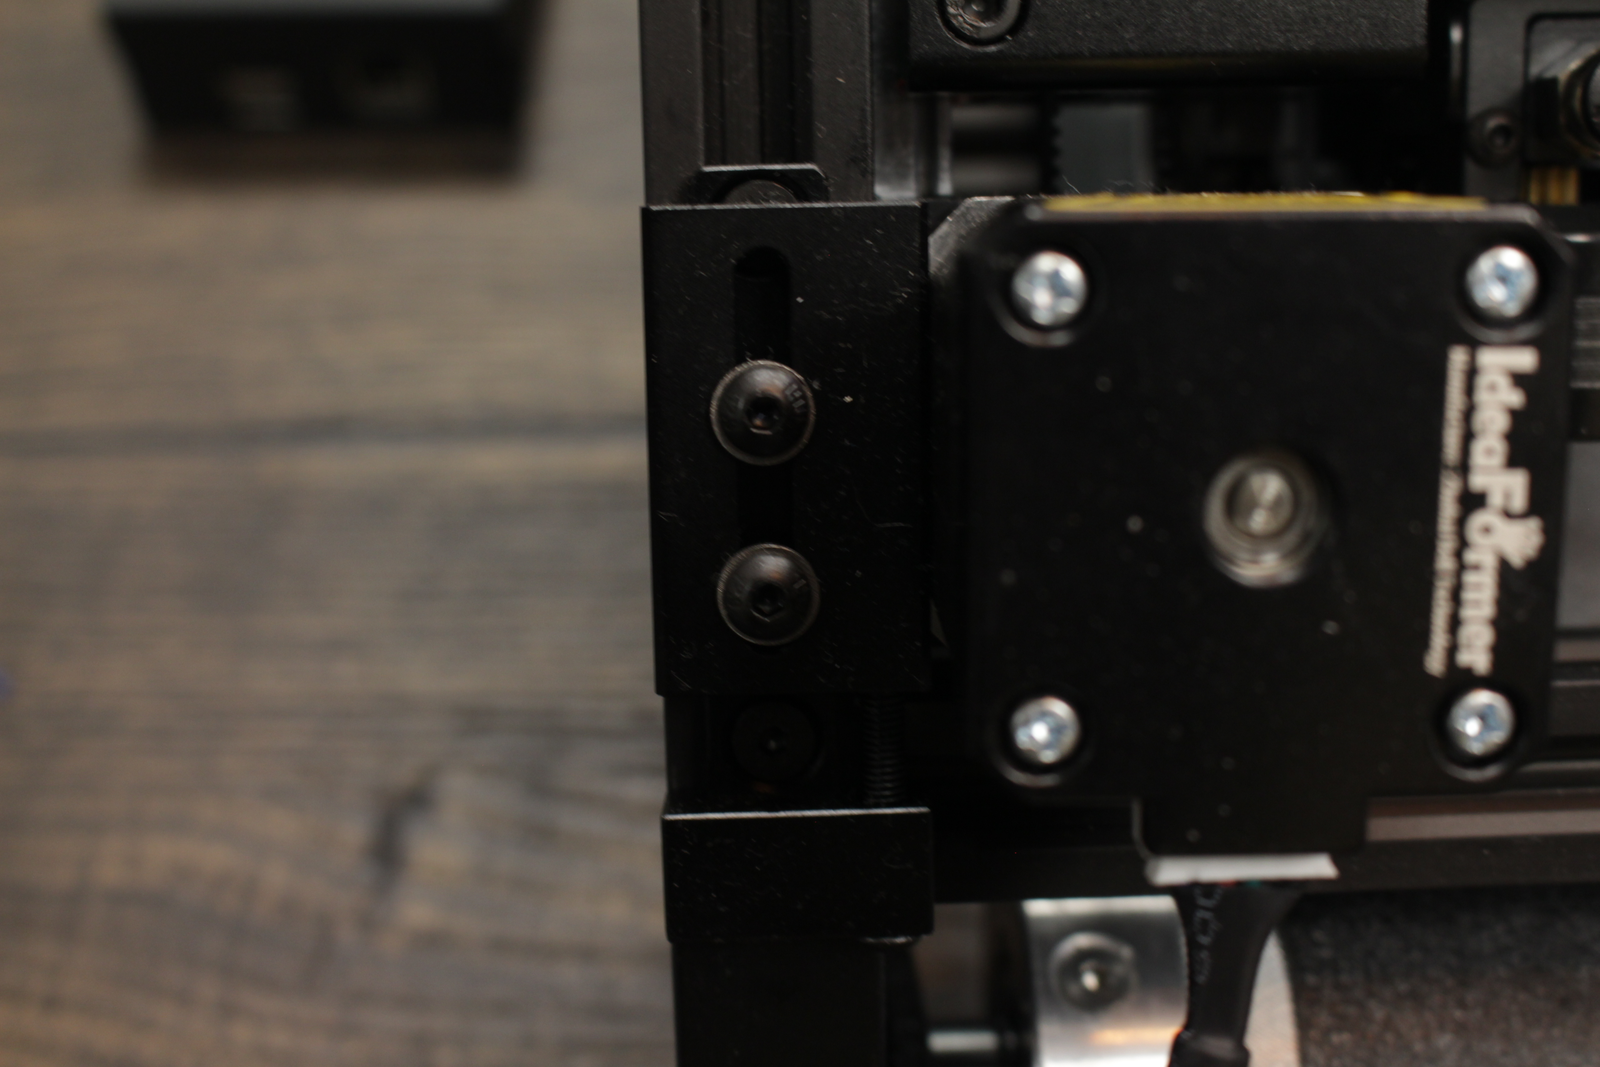
2. Tighten or loosen the backscrew.
From the back / bottom of the printer below the 2 screws. You can loosen or tighten the screw. This will move the belt up or down to calibrate. 1 or 2 full turns.
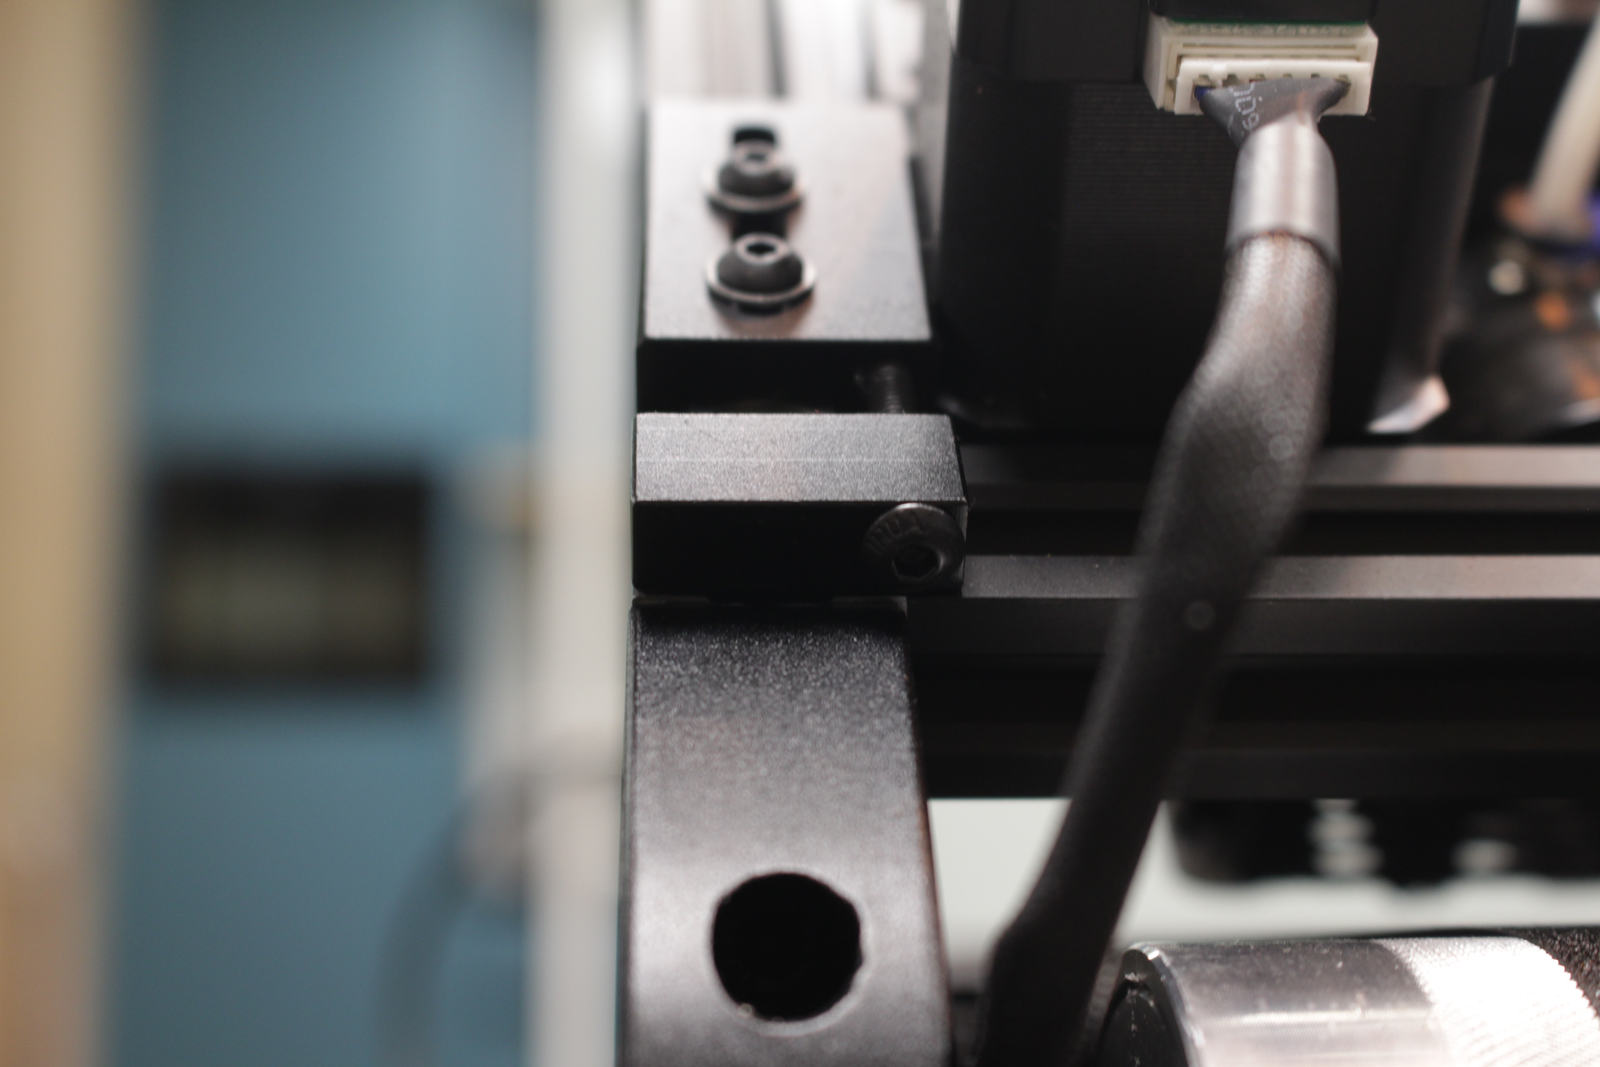
3. Tighten the 2 top screws.
After moving the belt, you have to tighten the 2 screws again.
4. Press auto leveling.
On the home screen click Auto Leveling.
5. Check bed mesh values again.
From the homescreen, go to Configure (left bottom) and click Bed Mesh. This will show a picture like below.
Repeat the last steps if it's still too far off.
If the values increase -> turn back the screw.
If the values decrease -> turn the screw the other way around.