1. Base
The Base tab is your starting point for custom orthotic designs, containing all tools needed to begin your project.
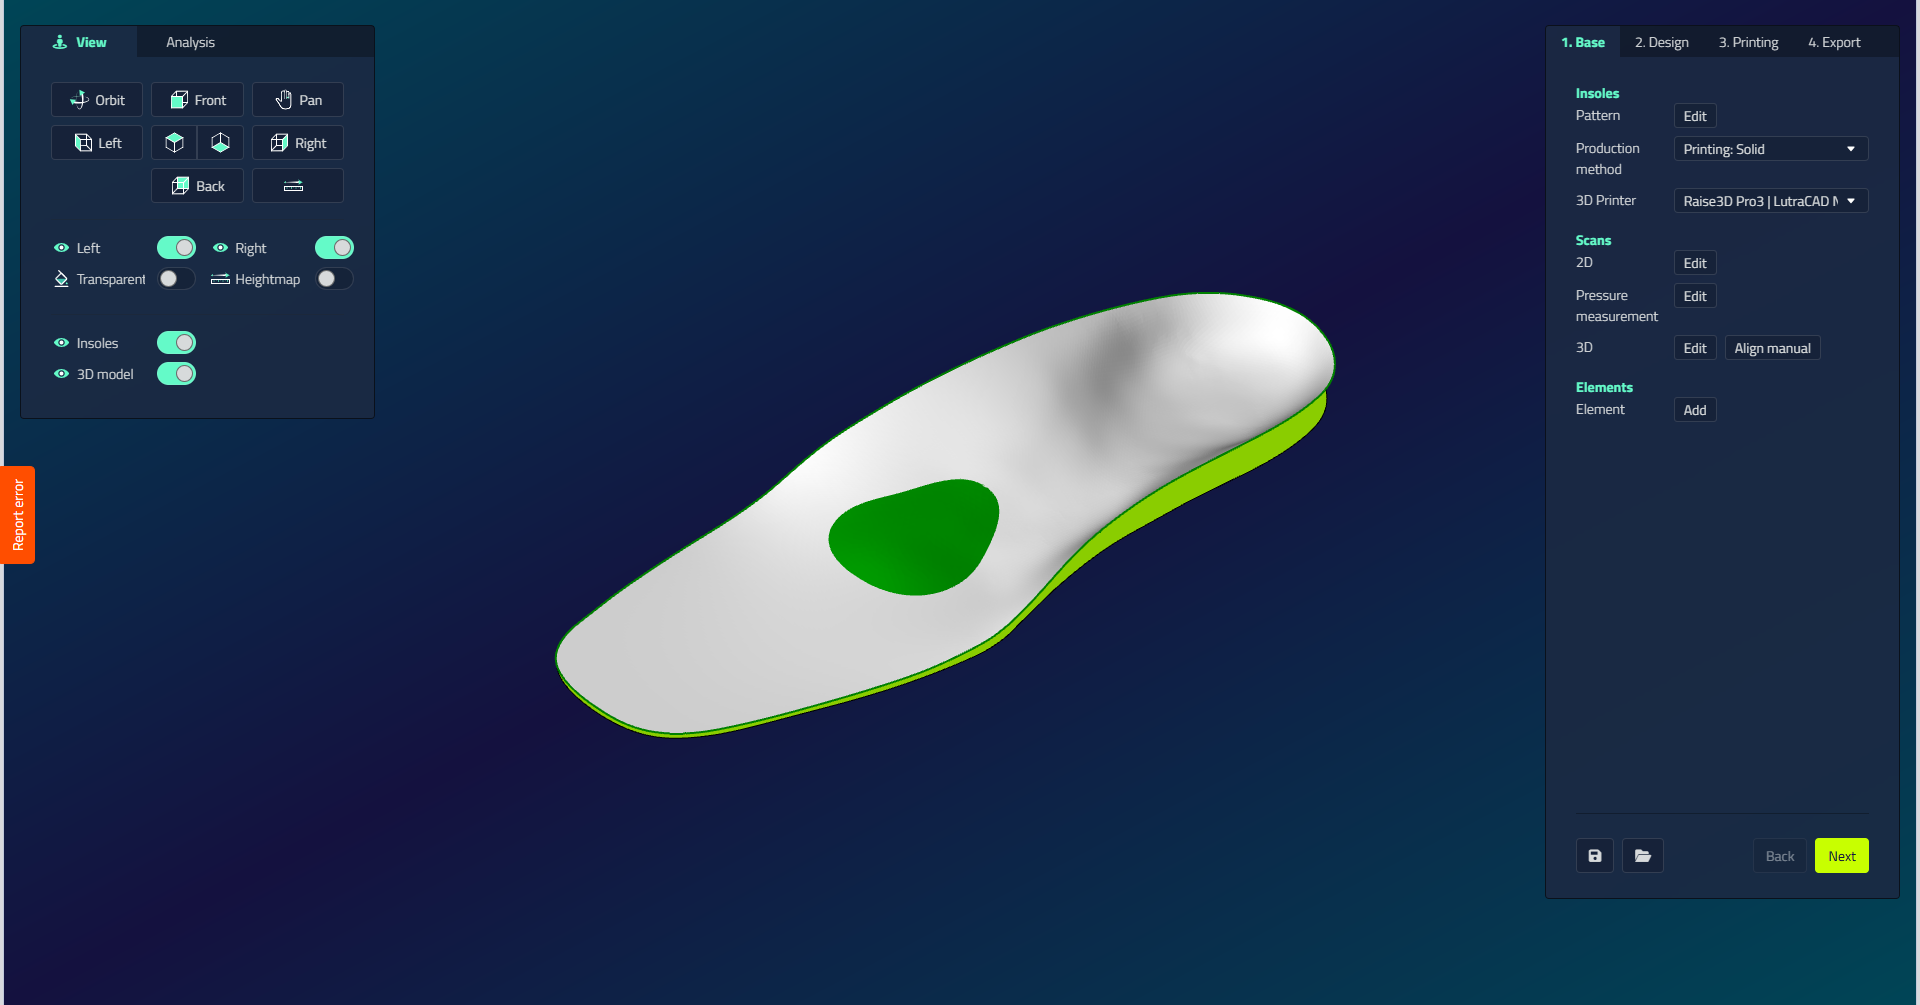
| Control | What it does |
|---|---|
| Macro | Apply pre-configured settings to quickly set up designs for specific foot types, production methods, or customer requirements. Only visible when at least one macro exists in the library. |
| Pattern | Select or change your insole shape template. The four options are explained under The Pattern picker below. |
| Production method | Choose your manufacturing approach. Milling: EVA (standard one-sided milling with vacuum table), EVA 2 Sided (two-sided milling, requires clamping system), Mold (creates millable molds for vacuum forming), Shell (functional orthotics for 2-sided milling). 3D Printing: Solid (accommodative insoles with variable hardness regions), Shell (functional orthotics for 3D printing). |
| 3D Printer | Select your preferred printer and material combination. Only visible when a Printing production method is selected. |
| Scans 2D | Add 2D scans as design references. Only visible when the project contains 2D scans. |
| Pressure Measurement | Add pressure measurements as design references. Only visible when the project contains pressure measurement data. |
| Scans 3D | Use for full contact insoles or as references with prefab 3D devices. Only visible when the project contains 3D scans. Use Align Manual to adjust incorrectly positioned 3D scans by marking three anatomical landmarks (metatarsal 1, metatarsal 5, and center of heel); the software then automatically aligns the scans. |
| Elements | Add components to your design: Elements (added on top of the device) and Sinks (remove material to relieve pressure points). |
Validation
You can't continue to the Design tab without a base shape. A Full Contact pattern additionally requires a 3D scan.
The Pattern picker
The Pattern pop-up shows the templates as thumbnails, with a grid/list view toggle (your choice is remembered). You pick one pattern, which is used for both the left and right foot.
| Option | What it does |
|---|---|
| Full Contact | The insole is generated from the patient's 3D foot scan, so its top surface follows the whole foot. Needs a 3D scan. |
| Prefab 3D | A ready-made 3D base model chosen from the library, not built from a scan. |
| Sensomotoric | Starts from a flat insole that you build up yourself by adding elements (pads, bars, and so on). Because the base is flat, the shape corrections do not apply: arch, insole height, and several midfoot controls are hidden for this type. |
| Import | Use your own 3D file (STL, CAD, or 3DM) as the base. The picker switches to per-side file pickers, with rotation controls and a left/right swap. |
The Element picker
Adding an element or sink opens a picker with the shapes you can place.
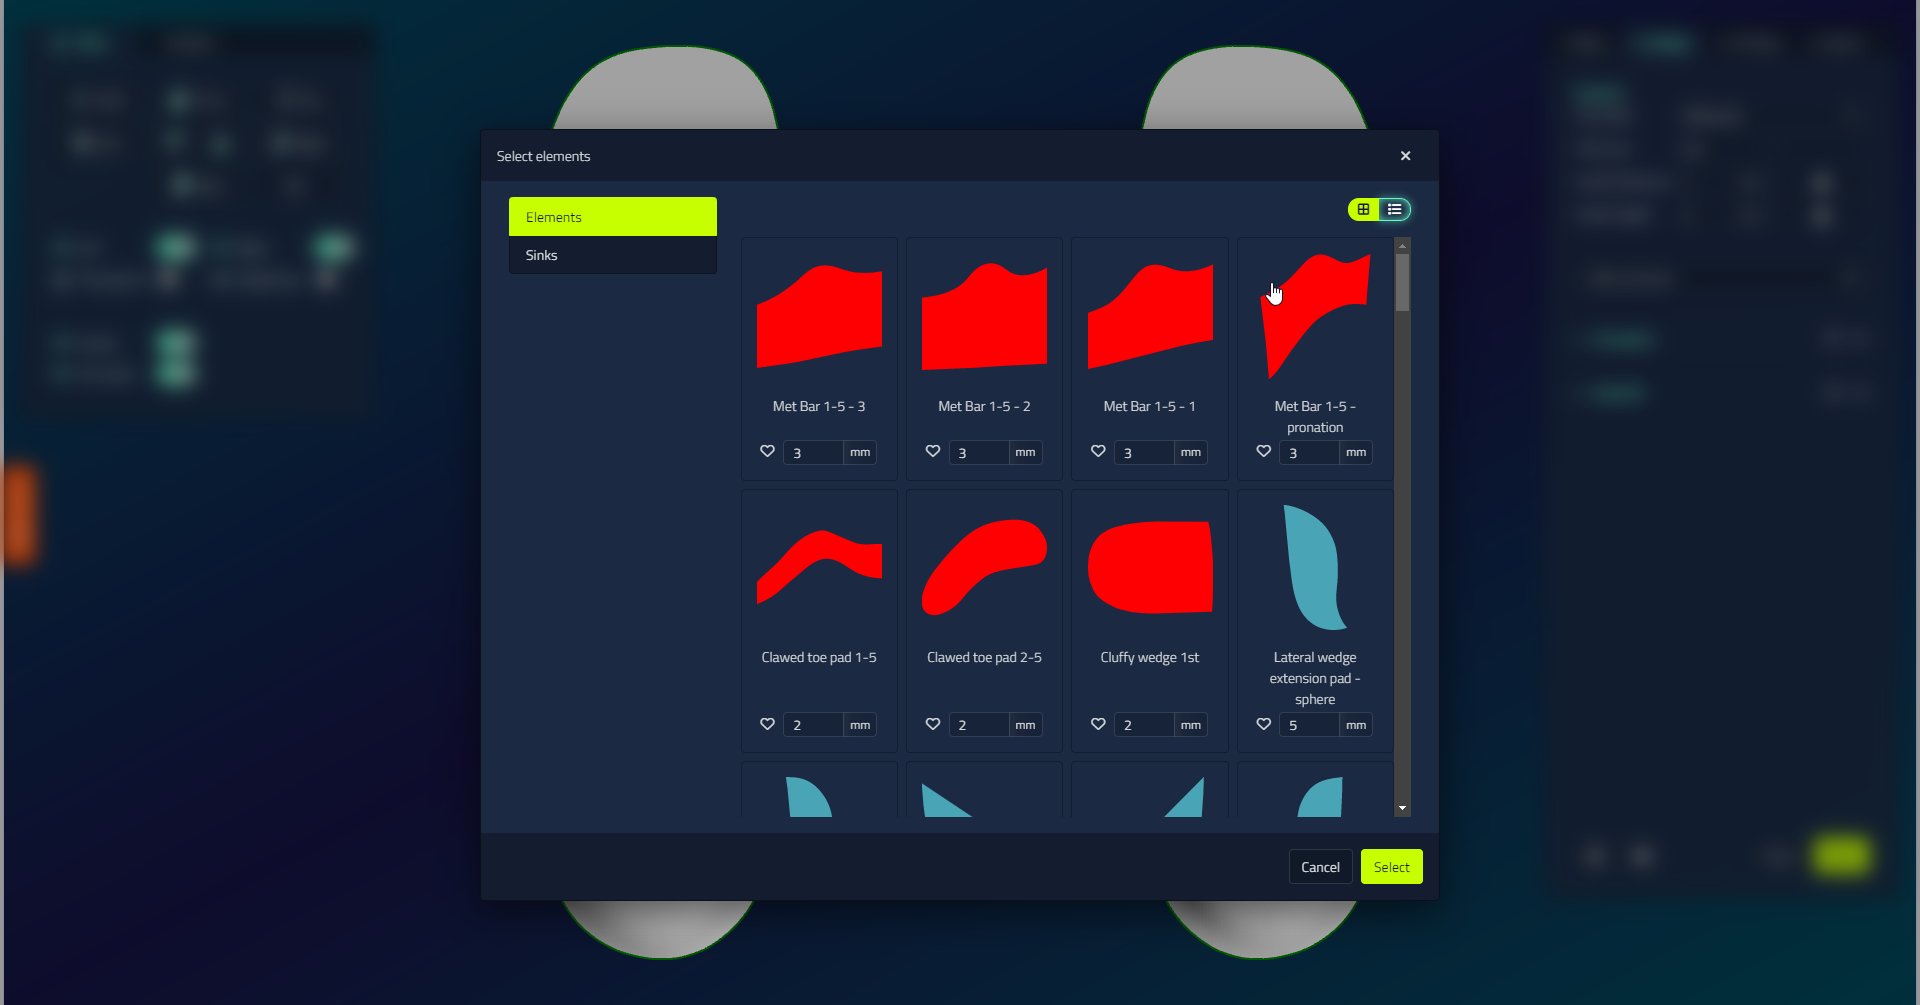
| Option | What it does |
|---|---|
| Element / Sink toggle | Switches between raised features (pads, posts, and supports) and depressions cut into the surface. |
| Favourites | Mark items you use often with the star so they are easy to find. |
| Thickness | Set a thickness in mm per item before you add it. |
| Multi-select | Add several elements at once. |