Tools & Actions
The whole CAD design environment works the same way in every domain (insoles, shoe lasts, braces): you apply actions to objects. Once you learn this pattern you can use any tool in LutraCAD, because they all follow the same flow.
Select an object, pick an action, set the region or points, adjust the value, then Confirm or Cancel.
How an action works
- Select the object in the viewport. It highlights, and the available actions appear in the Action panel on the left.
- Click an action (for example Rotate, Scale, Mirror, or Edit trimline). The viewport enters action mode and shows on-screen instructions at the top right.
- Set the region or points as prompted: click points, drag, or draw a curve.
- Adjust the value in the settings panel in the top right: a numeric field, dropdown, or checkbox.
- Confirm the action, or Cancel to discard it. The model recalculates immediately.
Every action you apply is recorded in the History tab, so you can always revert it later. See History and undo.
How settings apply
| Control | When it applies |
|---|---|
| Numeric field / dropdown | On Enter, or when you click away |
| Checkbox | Immediately |
Types of action
The actions in the panel fall into three families, and which buttons appear depends on the object you selected: transform actions, grip-editing actions, and draw actions.
Which actions appear per object
The Action panel shows a different set of actions depending on what you selected. In the insole domain:
| Object type | Actions available |
|---|---|
| Element / Sink | Rotate, Scale 1D, Scale 2D, Box (sizes), Edit trimline (with Select region / Freeform Editing), Mirror, Delete |
| Pattern (base model) | Box (sizes), Edit trimline (with variants), Mirror. Plus, on the generated geometry: Box, Edit trimline, Mirror |
| 3D scan | Rotate, Delete region, Box (sizes Small to Extra extra large) |
| 2D scan / Pressure scan | Rotate, Scale 2D |
| Trim line / custom curve | Points, Mirror, Delete |
| Bottom design | Box (sizes), Edit trimline (with variants), Mirror |
| Text / Logo | Delete, Rotate, Scale 1D, Scale 2D |
| Manual skive | Rotate, Scale 1D, Scale 2D, Mirror |
| Measurement | Delete |
| Bounding-box mode (generic) | Rotate, Scale 1D, Scale 2D, Lasso |
Other domains (shoe last, brace, scan repair) follow the same pattern with their own object types.
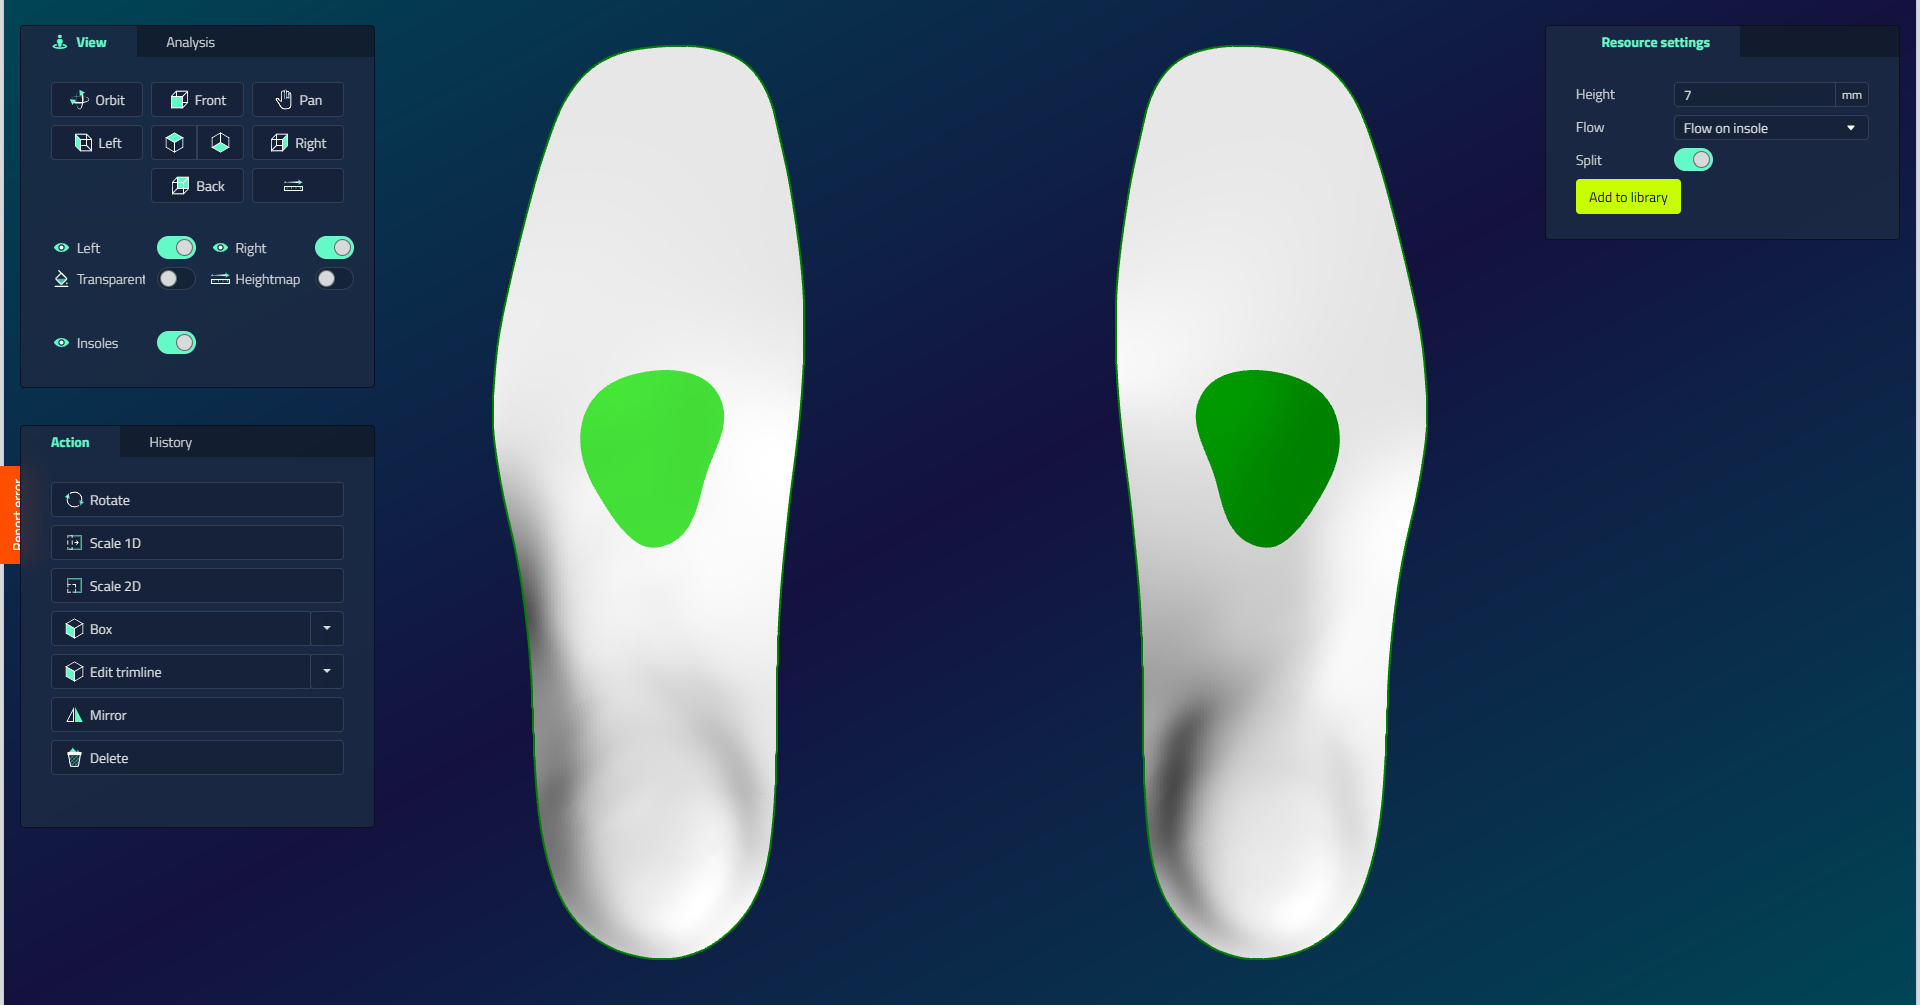
Transform actions
Transform actions move, rotate, or scale a whole object. They run as a sequence of clicks guided by the prompt line at the top of the screen, not by dragging a handle.
| Action | What it does | Click sequence |
|---|---|---|
| Rotate | Rotate the object | Pivot point (centre), reference point, move the mouse, click to confirm the angle |
| Scale 1D | Scale along one direction | Origin point, first reference point, second reference point (sets the ratio) |
| Scale 2D | Scale in the plane (width by length) | Origin, first reference (U), second reference (V) |
| Move | Move the object by dragging it directly in the viewport | Not a click sequence. There is no button; click and drag the object. Recorded in History as Translate |
| Mirror | Copy or reflect to the other foot side | Select, click Mirror (applies immediately) |
| Delete | Remove the object | Select, click Delete (immediate) |
Some objects, such as the base pattern and the final output, cannot be deleted.
Scale 2D also doubles as the calibration tool for a 2D scan. See Calibrating a 2D scan.
Grip-editing actions
Grip-editing actions show draggable control points on the object. Drag the grips to reshape it, then confirm with Enter or the on-screen Close button (Escape cancels).
| Action | What it does |
|---|---|
| Box | Opens an editable cage around the object; drag the grips to reshape it. Size presets run from Small to Extra extra large |
| Points | Shows the curve's control points; drag them to reshape (on braces they snap to the surface) |
| Freeform Editing | Turns the object's edge into an editable curve (about 60 points for a pattern, about 20 for an element); drag the points to shape the cut |
| Brush smooth / Brush pull / Brush push | Three separate buttons; drag the brush across the model surface to smooth, pull (bulge), or push (indent) it; click Confirm to accept |
| Lasso | Draw a bounding rectangle to select several control points at once while grip-editing, instead of dragging them one by one |
Draw actions (curves and regions)
Several tools work by drawing directly on the model, in one of two styles: dragging a stroke over the edge to reshape the outline (Edit trimline), or clicking a series of points into a closed loop (Select region, Cut out, Amputation, Hole pattern, and Strengthen). A live red curve previews the result before you confirm, and you finish with a right-click or Enter.
| Tool | What it does | Click sequence |
|---|---|---|
| Edit trimline | Reshape the outline | Point on edge, second point (repeat), Enter to finish |
| Select region | Straight cut between two references | Region start, region end, direction start, direction end |
| Freehand curve / Cut out / Amputation | Draw a closed region | Series of points, right-click or Enter to close |
| Delete region | Remove part of the model | Draw or mark the region, then confirm |
| Cut out / Hole pattern | Perforate a brace | Draw the freehand region, then confirm |
| Strengthen | Add a reinforcement rib | Draw the freehand region, then confirm |
| Impression box cutout | Cut an impression box (scan repair) | Click points on the model (minimum 3), right-click or Enter to finish |
| Clip | Clip part of the model | Follow the prompt line; a confirm dialog asks whether it is the right part |
| Fill holes | Close gaps in the model | Applies to the selected model |
| Measure | Measure a dimension | Point A, point B, then a third point to offset the dimension plane (3 clicks) |
| Create hole (shoe last, Print) | Add a print hole | Single click at the hole centre (1 click) |
| Create screw hole (shoe last, Print) | Add a screw hole | Click the hole position, then a second point for direction/depth (2 clicks) |
| Pull Last to 3D Scan / Add Volume Region (shoe last) | Pull the last toward the scan, or add a volume region | Click a series of points as an open polyline, then finish |
Every draw tool shows its current step in the prompt line at the top of the screen. When in doubt, follow it.
Free draw vs Circle
While drawing a curve you can switch the stroke shape between Free draw and Circle to control how the region is traced.
With Circle, a ready-made circle is added between the insoles. Move it freely to the side you need. To reshape it, turn on the control points and drag them.
Saving a curve to the library
While you are drawing a curve, tick the save option and enter a name to store it in the library for reuse. You can also load an existing library curve instead of drawing your own (with a Left, Right, or Both side choice), rather than starting from scratch with Custom draw.